Mehndi, also known as henna, is a beautiful form of body art that holds deep cultural and traditional significance, especially in South Asian and Middle Eastern communities. If you are new to applying mehndi or are simply looking for simple and easy designs, this guide is perfect for you!
Why Choose Simple Mehndi Designs?
Simple mehndi designs are ideal for beginners and people who want elegant patterns without spending hours. These designs often focus on minimalism, with fewer intricate details, making them easier to draw while still looking stunning.
Types of Simple Mehndi Designs
- Floral Patterns
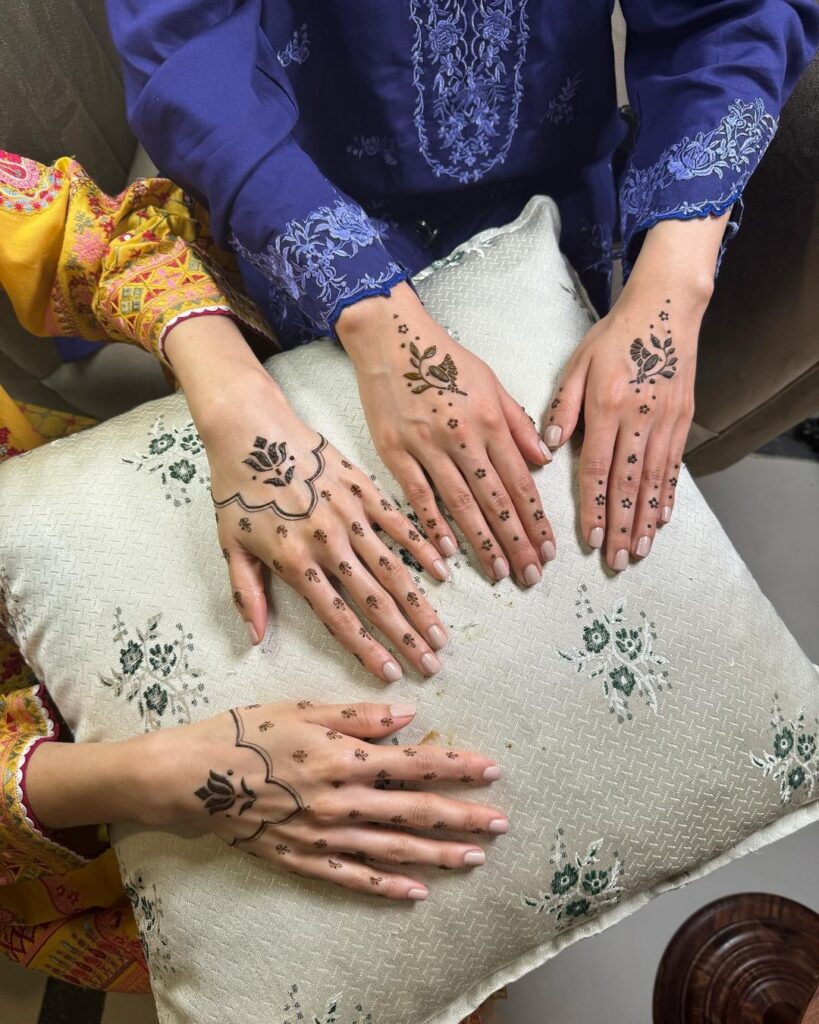
Floral motifs are the most popular in simple mehndi designs. Flowers, leaves, and vines can be easily drawn and arranged in creative ways on the palm and fingers. - Geometric Patterns
Simple geometric shapes like dots, lines, and triangles make up striking designs. These patterns are perfect for casual events or for people who prefer a modern look. - Mandala Designs
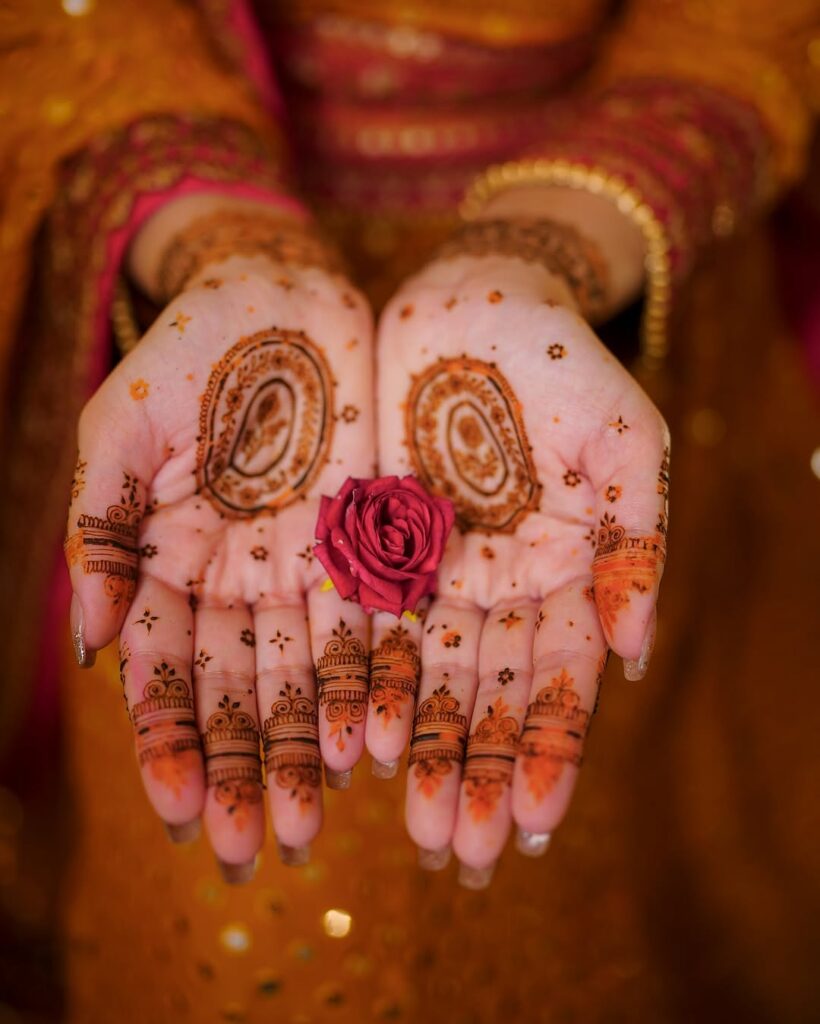
Mandalas are circular patterns that start at the center of the palm and expand outward. These are simple to create and give a balanced, traditional look. - Tikki Mehndi Designs
Tikki’s designs are round and symmetrical. These are the go-to options for festivals and are often paired with a border or small details around the central circle. - Minimalist Finger Designs
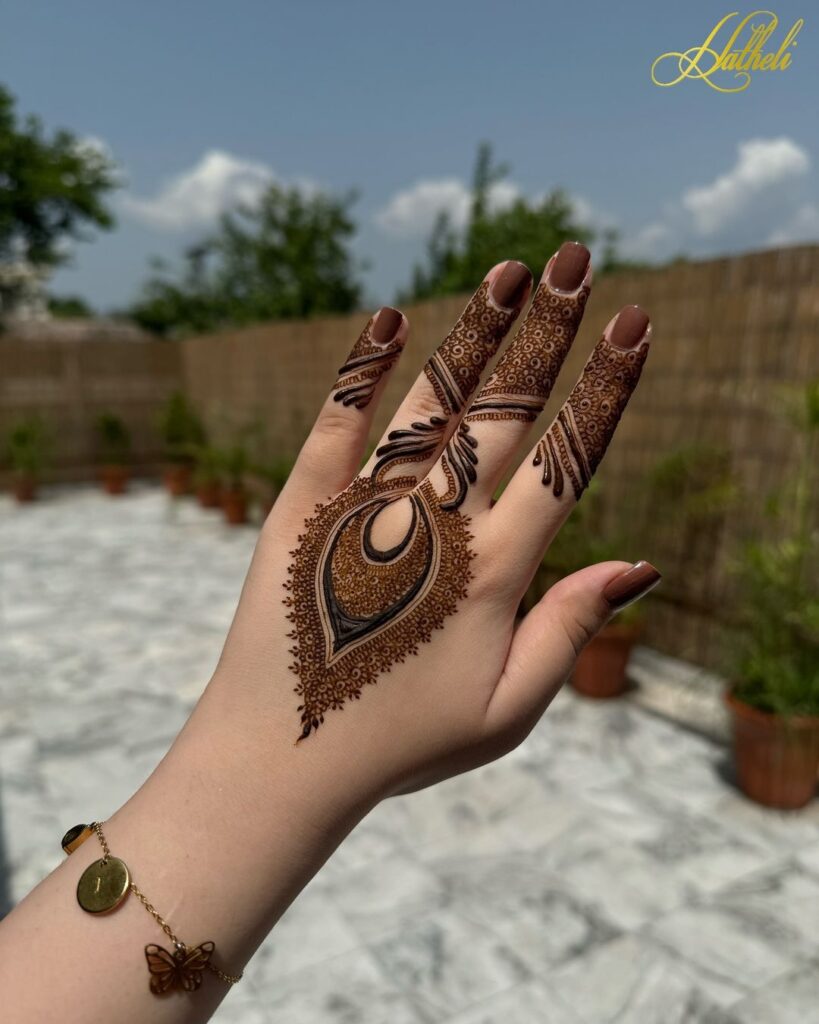
Instead of covering the entire hand, focus on decorating just the fingers with delicate patterns. This style is perfect for daily wear or professional settings.
Step-by-Step Guide to Apply Mehndi
- Prepare Your Mehndi Cone
- Always use fresh, good-quality mehndi paste for better color and results.
- Make sure your cone’s tip is cut small for precise designs.
- Start with Basic Shapes
Begin by practicing simple shapes like lines, circles, and curves on paper. This helps improve your control over the cone. - Choose a Design
Select a design that matches your skill level. Keep it simple initially and gradually try more detailed patterns. - Keep Your Hand Steady
For clean lines and symmetry, always rest your elbow on a stable surface. A steady hand ensures a neat design. - Leave It to Dry
Once done, allow the mehndi to dry for at least 2-3 hours. Avoid using water or touching it during this time. For a darker color, apply a mixture of lemon juice and sugar on the dried mehndi.
Additional Tips for Beginners
- 1. Choose the Right Mehndi Cone
- Always buy a high-quality, ready-made cone or make your own using fresh henna powder and essential oils.Ensure the tip of the cone is fine, as it allows for better control and cleaner lines.
- Before applying on skin, practice your designs on paper.Start with simple shapes like circles, lines, and swirls to get a feel for the cone.
- Avoid complex patterns in the beginning. Start with basic floral, geometric, or Tikki (circular) designs.Gradually move to more intricate designs as you gain confidence.
- Sit at a comfortable table and rest your elbow on the surface for stability.This helps create smooth, clean lines and reduces shakiness.
- Hold the cone like a pen, with a light but firm grip.Apply even pressure to control the flow of the paste.
- Take your time to perfect each section of the design.Rushing can lead to mistakes or uneven patterns.
- Begin with simple finger designs or small motifs on the palm.These are easier to handle and don’t require a lot of space or detailing.
- Wash the skin with soap and water to remove any oils or dirt before applying mehndi.Dry the skin thoroughly for better adherence.
- If you make a mistake, don’t panic. Use a damp tissue or toothpick to fix it immediately.Small errors can often be covered with additional patterns.
- Dedicate time each week to practice. The more you apply Mehndi, the better your skills will become.Try different styles and patterns to expand your creativity.
Extra Tips for Darker Mehndi Stains
1. Use Fresh Mehndi
- Always use fresh and high-quality mehndi paste. The fresher the paste, the better the stain.
- Store-bought cones should be checked for expiry dates. If making at home, use finely sifted henna powder.
2. Wash Hands Before Application
- Clean your hands with soap to remove any oils, dirt, or lotions.
- Dry your skin thoroughly before applying the mehndi.
3. Let It Dry Naturally
- Allow the mehndi to dry on its own without using a fan or blow dryer.
- Avoid moving your hands too much while it’s drying to prevent cracking.
4. Apply a Lemon and Sugar Mixture
- Once the mehndi starts to dry (after 20-30 minutes), dab a mixture of lemon juice and sugar gently on the design using a cotton ball.
5. Keep It On for a Long Time
- Leave the mehndi on your skin for at least 6-8 hours or overnight for the best results.
- The longer the paste stays on, the darker the stain will be.
6. Avoid Water Immediately
- Scrape off the dried mehndi paste instead of washing it with water.
- Wait at least 12-24 hours before exposing the design to water for optimal color development.
7. Use Heat for Better Results
- After removing the paste, gently warm your hands over a stove or use steam to help set the color.
- Be cautious not to burn yourself—just a little warmth is enough.
8. Apply Natural Oils
- After scraping off the mehndi, apply natural oils like coconut or mustard oil to moisturize the skin and deepen the color.
- Avoid chemical lotions or creams as they may reduce the intensity of the stain.
9. Avoid Water and Soaps for 24 Hours
- Keep your hands away from water, soaps, and harsh chemicals for at least a full day after application.
- This gives the dye enough time to develop fully.
10. Let the Stain Mature
- Mehndi stains appear orange initially and darken over 24-48 hours. Be patient and allow the color to develop naturally.
11. Avoid Cold Temperatures
Henna stains develop better in warm environments. If it’s cold, keep your hands warm by wearing gloves or staying in a cozy space.
12. Use Natural Enhancers
- Add essential oils like eucalyptus or tea tree oil to your mehndi paste for a darker, richer stain.
- These oils help activate the natural dye in henna.
Here We Have Shared Simple and Easy Mehndi Designs That You Can Try In 2025

Simplicity Never Goes Out of Style

Now that’s what you call a short and simple mehndi design!


IMAGE VIA INSTAGRAM Hathelii
